Week 2
Dev tools, Git and GitHub
Setup Development Toolchain
Install VS Code
Simply download, and run, the installer from the website: https://code.visualstudio.com
ON WINDOWS: Use Git-Bash in terminal
Check the default shell for the integrated terminal in VS Code.
- Open user settings panel with CTRL,
- Search for: terminal integrated shell windows
- It should be set to
C:\\Program Files\\Git\\bin\\bash.exe
NOTE: this setting has been updated in the sync settings gist as of 2018-09-24
Install Node.js
We will install the CURRENT version (10.9.0 or later).
Download from nodejs.org
Once it has finished downloading, double-click the file to run the installer and accept all of the default options.
When the installer is finished, lets double-check to see that we got the latest version. In the terminal run this command.
node --version
You should see v10.9.0 or later.
Node package managers: NPM & Yarn
A package manager allows you to use and share code with other developers.
This means that you can reuse the other developers tested solutions to various problems without "reiventing the wheel". Code is shared through something called a package (sometimes referred to as a module). A package contains all the code being shared as well as a package.json file which describes the package and it's dependancies (other packages that it might use).
The package manager, sometimes called a dependancy manager, takes care of ensuring that the right versions of all of the requested packages (and their dependancies) are installed into your project folder and ready to use.
NPM
NPM is the default package manager for JavaScript and links to the world’s largest software registry. The node installer will have installed a version of NPM but we should update it to the latest version.
We will use npm to update itself ...
npm install npm@latest --global
TIP
On macOS or linux, you may get a permission error when installing packages with the --global flag. If so, prepend the word sudo to the command and try again.
sudo npm install npm@latest --global
This will prompt you for the password of the user account that you logged-in to your computer with. Enter it and then it should complete normally.
Lets break down what that command is doing:
- npm is the shell (terminal) program that we are running
- install is the command that tells npm we want to install a new package
- npm@latetest says the name of the pack to install is npm. We can then optionally ask for a specific version of that package using the @ symbol followed by a version tag. In this case we asked for the latest version.
- --global tells npm to install the package "globally", so that it is available to run anywhere in our development environment. Without this option, npm will install a package "locally", so that it is available only in the current project folder.
Lets double-check to see that we got the latest version.
npm --version
You should see 6.4.0 or later.
Yarn
Yarn is another popular node package dependancy manager. It is newer and often faster than NPM. You should be familiar with both so we will practice with both throughout this course.
Use npm to install yarn ...
npm install yarn --global

# on a mac you may need to run it with sudo
sudo npm install yarn --global
Lets double-check to see that we got the latest version.
yarn --version
You should see 1.9.4 or later.
Read the command reference documentation for some common examples of how to use yarn.
Install Git
Download the installer from git-scm.com
Run the installer and accept all of the default options.
Homebrew on macOS
If you have Homebrew installed on your Mac (which is a great tool BTW), then simply run
brew install git
Configure global settings
Run the following commands in the terminal to configure a few global settings that will apply as defaults in all of your projects.
git config --global user.name “Firstname Lastname”
git config --global user.email “email@mydomain.com”

# On macOS only
git config --global core.autocrlf input

# On Windows only
git config --global core.autocrlf true
Cheat Sheet
For easy reference to the available git commands, download the Git Command-line Cheat-Sheet from Atlassian — maker of SourceTree and BitBucket.
Sign-up for GitHub FREE
GitHub is the most widely used git repository hosting service. It makes it easy to collaborate with others, wether in private repositories or open source projects.
One of the many benefits of using a hosted service like GitHub, GitLab or BitBucket, is that you awlays have a backup of your work. If your laptop gets run over by a bus (hey it happens), you can go to any other computer with a web browser and pull down a copy of your repository and get back to work in a matter of seconds.
Using GitHub is a requirement for this course (and others in our program). Sign-up for your free account now:
Go to GitHub.com
Use your college email address to create the account.
WARNING
If you already have a GitHub account with another email address, do not create a second account. Instead, you should add your college email address to the existing account. Go to the Email tab of the Settings page to add additional email addresses.
Create projects folder
Open terminal and change directory (cd) to the top level of your user directory.
# on macOS
cd ~

# or on Windows
cd $HOME
Now lets create a new folder to hold all of our exercises and assignments for this course. Create a new folder called mtm6330 under the documents folder.
cd documents
mkdir mtm6330
cd mtm6330
Create a new git enabled project
Use the git init command and tell it the name of the project folder to create. e.g. git-demo
git init git-demo
Lets have a look at what that did
cd git-demo

# list all the files in the hidded folder call .git
ls -la .git
Now lets add some content to our project.
# create a new file
touch index.html
Let's check to see what git says
git status
Now we need to add our file to the git staging area
git add index.html
Now what does git status say?
git status
We are ready to make a commit (take a snap-shot). Use the -m flag to set the commit message - a short description to give context to the work included in our commit. We'll talk more about this later.
git commit -m “initial commit”
Let's check git status one more time.
git status
Now create another new file
touch style.css
Let's check git status again.
git status
Exercise 1-1 5 mins
Try this on your own now:
- Stage the style.css file
- Create another commit with the message "ADD style.css"
Edit the project in VS Code
Now let's have a look at our project in VS Code and make some changes to the HTML file.
Use emmet to scaffold out a basic HTML5 file and save it.
Now check git status again. What do you expect to see?
Now stage just the file that we changed, and then make another commit with the message "ADD basic HTML structure".
Exercise 1-2 5 mins
- Let's change the
<title>in our HTML file - Add an
<h1>tag to match with a class of 'title'. The index.html file should now look like this.
<!DOCTYPE html>
<html lang="en-CA">

<head>
  <meta charset="UTF-8">
  <meta name="viewport" content="width=device-width, initial-scale=1.0">
  <meta http-equiv="X-UA-Compatible" content="ie=edge">
  <title>MTM6330 | ICE 1-2</title>
</head>

<body>
  <h1 class="title">MTM6330 | ICE 1-2</h1>
</body>

</html>- In the style.css file, add a style rule for
.titleto colour it red.
.title {
  color: red;
}
- Use
git addto stage both files.
git add index.html
git add style.css
- Create a new commit.
git commit -m "ADD page title"
- Let's review the commit history
git log
Submit a screen-shot of the git history log on Bright Space.
Press the Q key to quit from the log view
Push to a new repository on GitHub
So far everything that we have been doing has been in our local development environment and our local git repository. Now we want to back that up to a hosted repository on GitHub.
First, we will create a new repository on GitHub.
Second, we will connect our local repo to the new one on GitHub.
Third, we will push the contents of our local repo to GitHub.
The first two steps we only need to do once for each project. The third step we will repeat often to sync our local work with the backup repo on GitHub.
Exercise 1-3
- Create a new public repository on GitHub.
- in your browser, login to GitHub.com
- click the green NEW button at the top of the repositories list
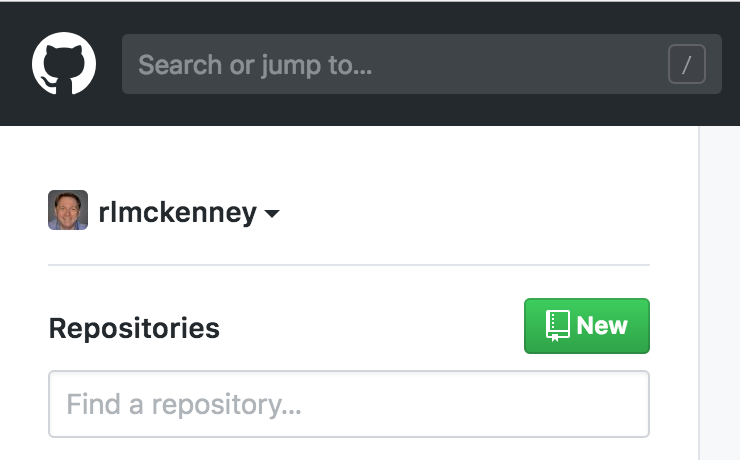
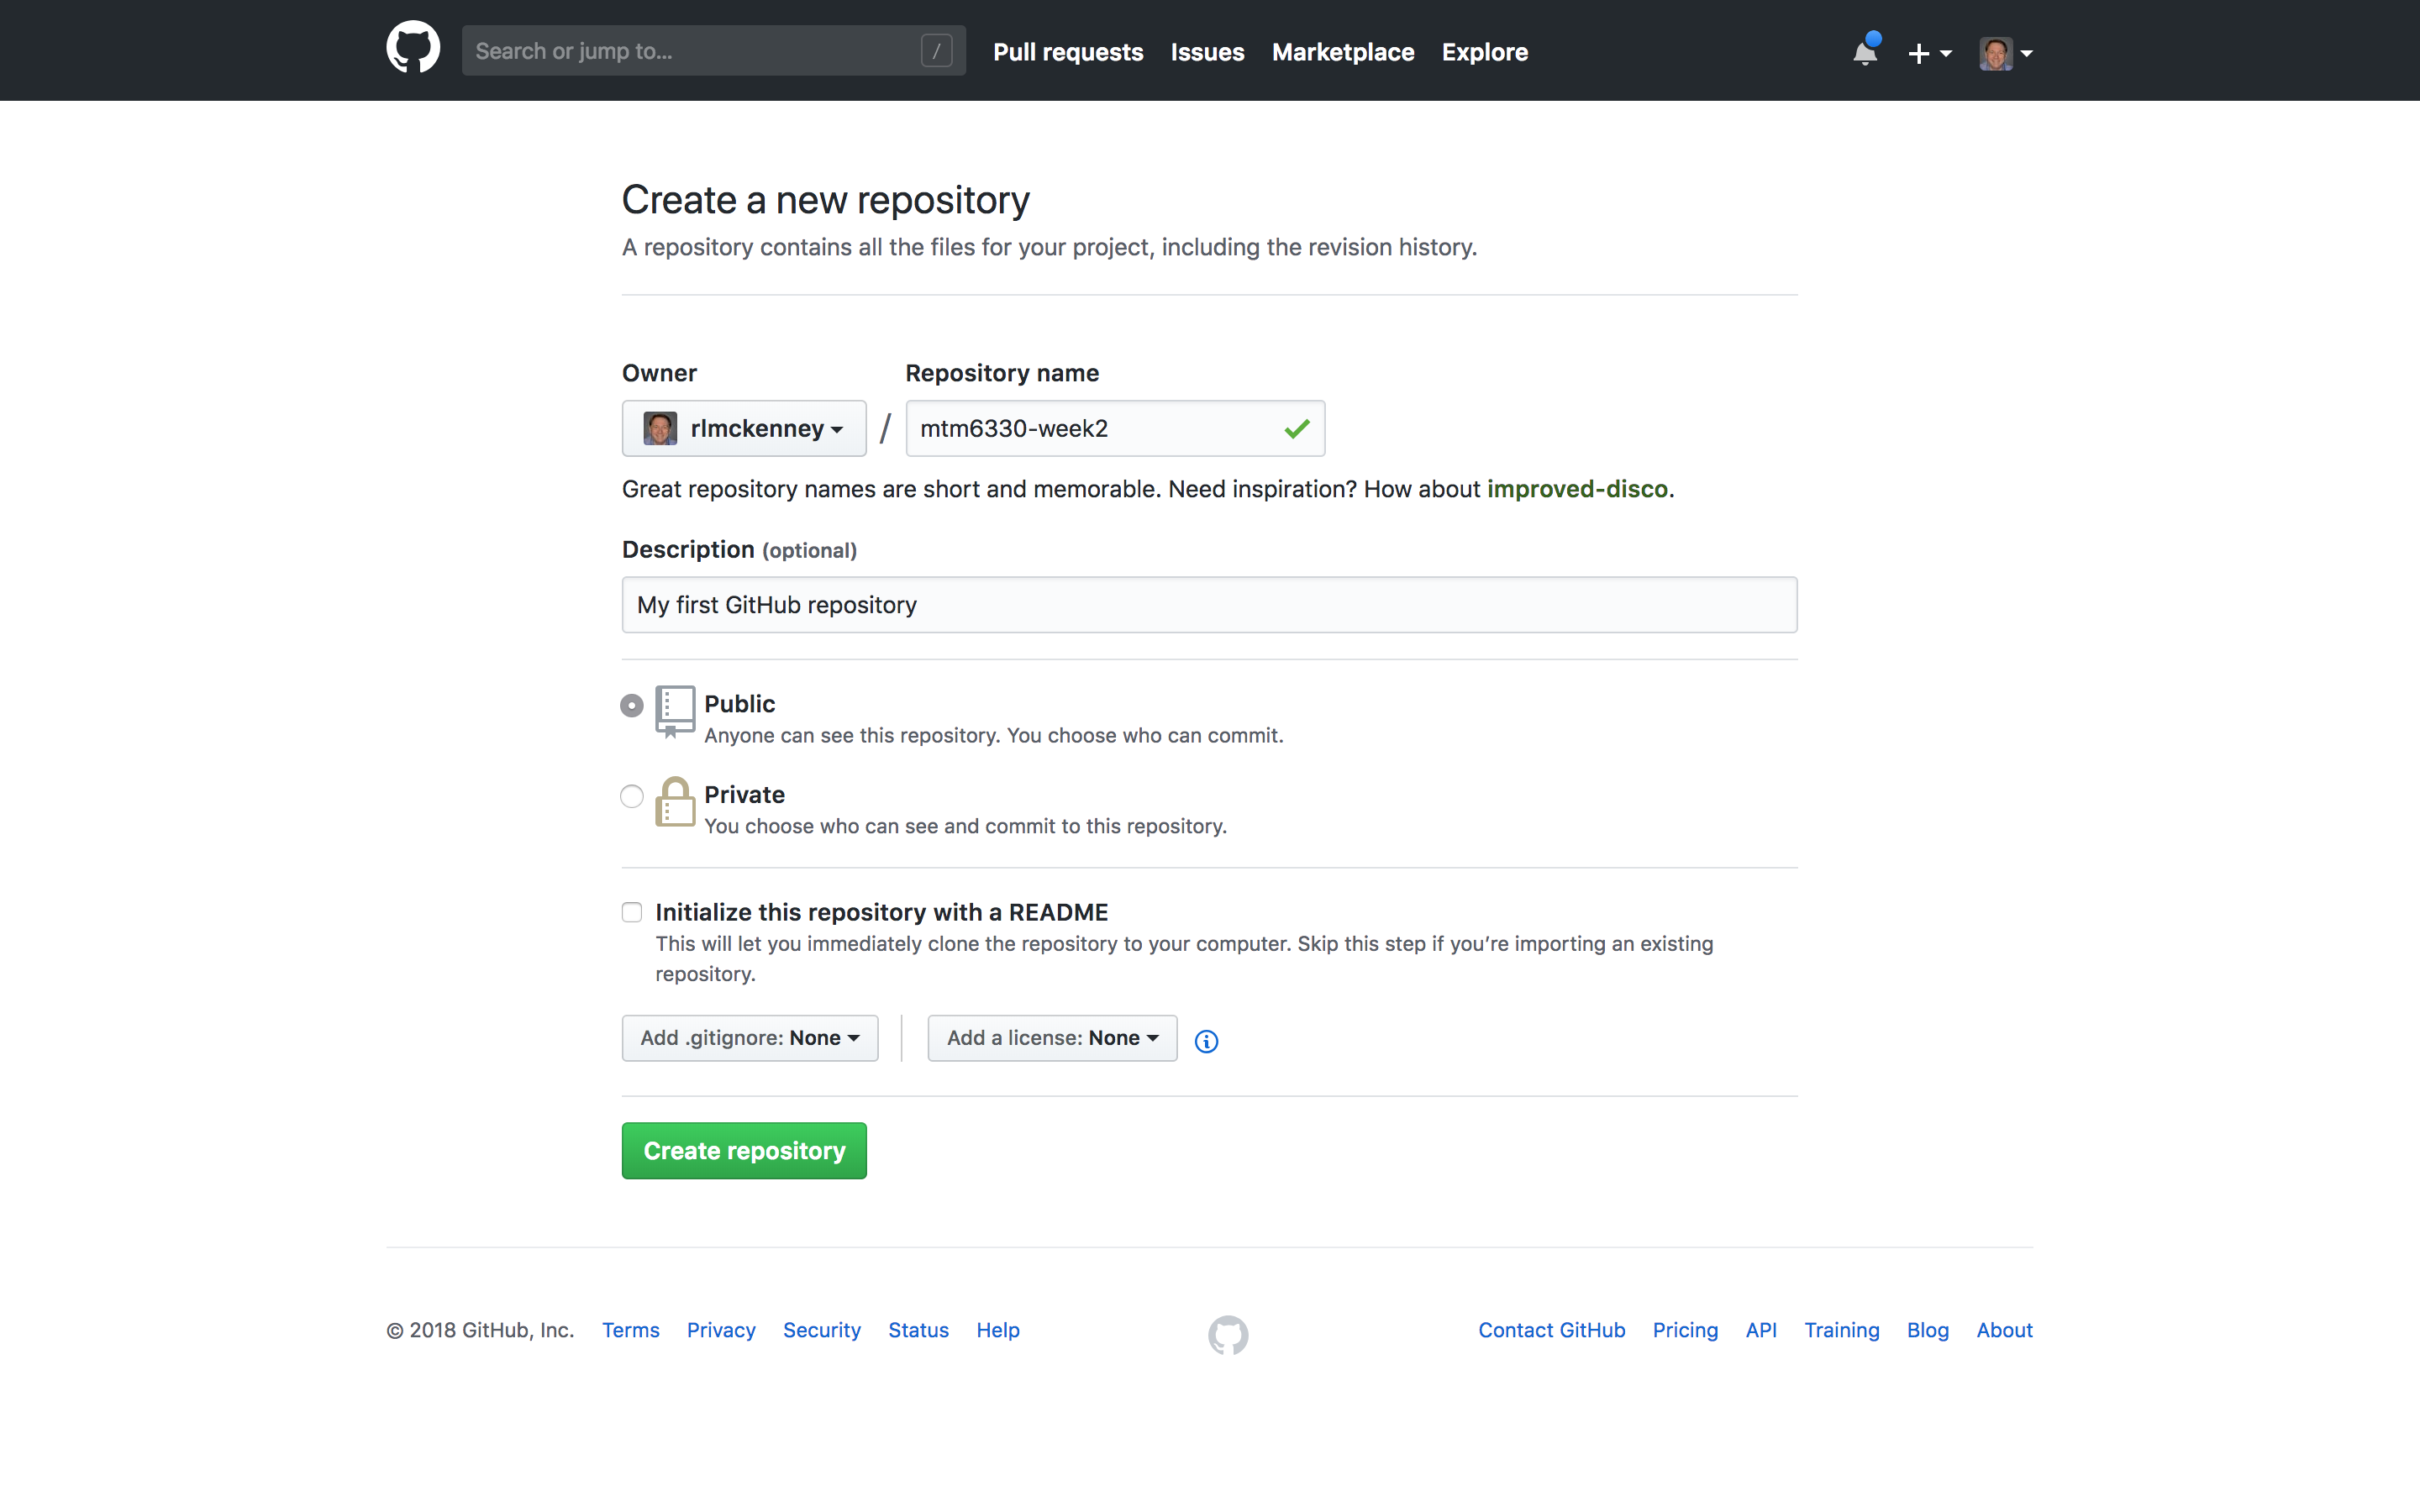
- name it MTM6330-Week2
- create a public repository
- add a description: My first GitHub repository
- DO NOT check the box to initialize with a README file
- click the green Create repository button
- Use the
git remote addcommand to connect the local repository to GitHub. By convention, we reference the remote GitHub repository as origin because it is usually seen as the authoritative source — especially in open source projects. Be sure to substitue your own GitHub user name for user_name in the command below.
git remote add origin git@github.com:user_name/mtm6330-week2.git
This tells our local git repository to add a new connection to a remote repository. We will give the remote a local "nick-name", called origin, and that will point to the full URL git@github.com:user_name/mtm6330-week2.git
- Now we can use the
git pushcommand to send a copy of our local git repository to GitHub.
git push -u origin master
This tell our local git repository to push all of the latest changes on our current branch (which is master at this point) to the remote labled origin and sync those changes with the remote branch called master
Submit the URL of your GitHub repository on Bright Space.
Git is built in to VS Code
So far we have focused on the git command line tools. It is important to know how they work and as you get practice using them you will find them quick and easy to use for manaing your projects.
However, to help streamline the development workflow, many code editors like VS Code have some git functions built-in. We'll complete this next exercise using the git features in VS Code.
Exercise 1-4
- create new branch
- change README
- review "changed files"
- stage them
- commit
- push
- show history
Review on GitHub to see the difference between the two branches.